Organise products
Keep your shelf tidy and easy to search
Brands and categories keep your products tidy, so you and your team find any item fast and your reports show which kind of product sells best. Set them up first, then pick them as you add each product.

In this article
- Switch between Products, Categories and Brands
- Add a category
- Add a brand
- Edit or remove one
Switch between Products, Categories and Brands
Your Products screen has three views. At the top of the screen, open the view dropdown (it shows Products to start) and pick Categories or Brands. Switch back to Products the same way.
Add a category

A category groups products by type, like shampoo, styling or tools.
- In Products, switch to the Categories view.
- Select Add Category.
- Enter a Category Name. A description is optional.
- Save it.
Add a brand
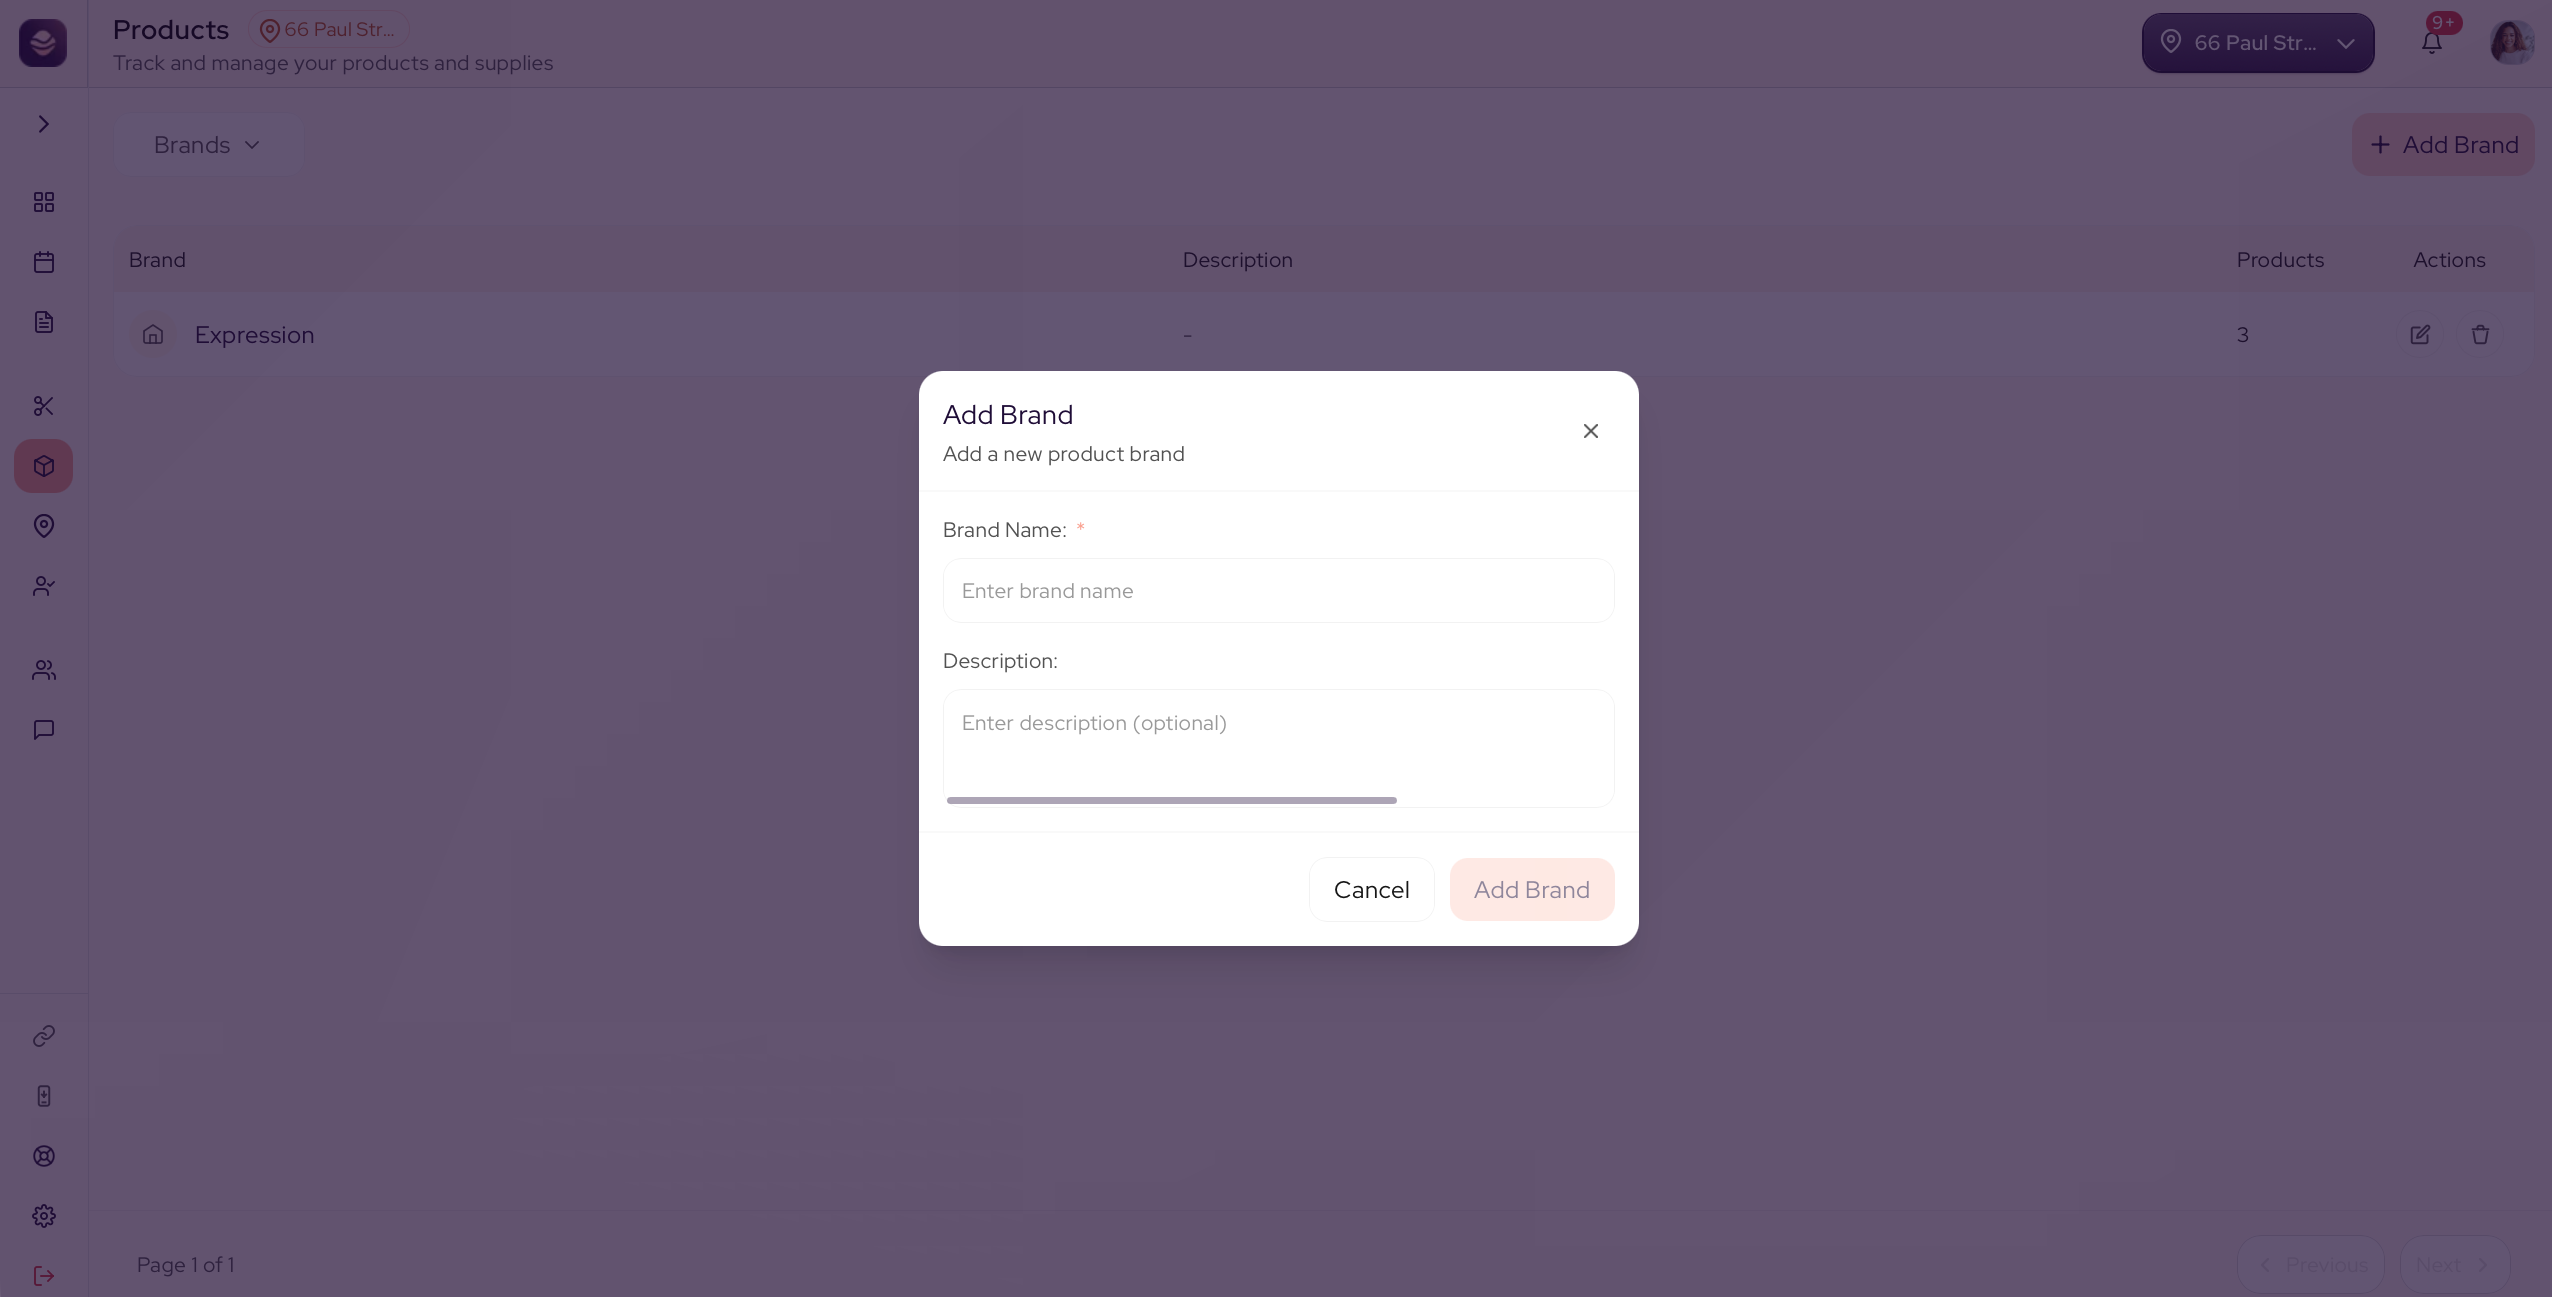
A brand groups products by maker, like the labels you stock.
- In Products, switch to the Brands view.
- Select Add Brand.
- Enter a Brand Name. A description is optional.
- Save it.
Once they exist, you can pick a category and a brand when you add or edit a product.
Edit or remove one
In the Categories or Brands view, each row has an edit and a delete action. Edit to rename or update it, or delete one you no longer use.
Note: A category is required on every product, so set up at least one before you add products. A brand is optional.
Tip: Keep categories broad and few. A short list is faster to pick from at the register and clearer in your reports.
Related: Add a product · Products